TRAINING DURATION: 2 days (16 h).
PREREQUISITE: Module 1, or a very good knowledge of GD&T as per ASME Y14.5.
OBJECTIVES:
- To learn the most common inspection techniques for geometric and dimensional tolerances.
- To prepare ISO compliant inspection procedures that are efficient and proportionate with the importance of the requirement (Who must be responsible for that?
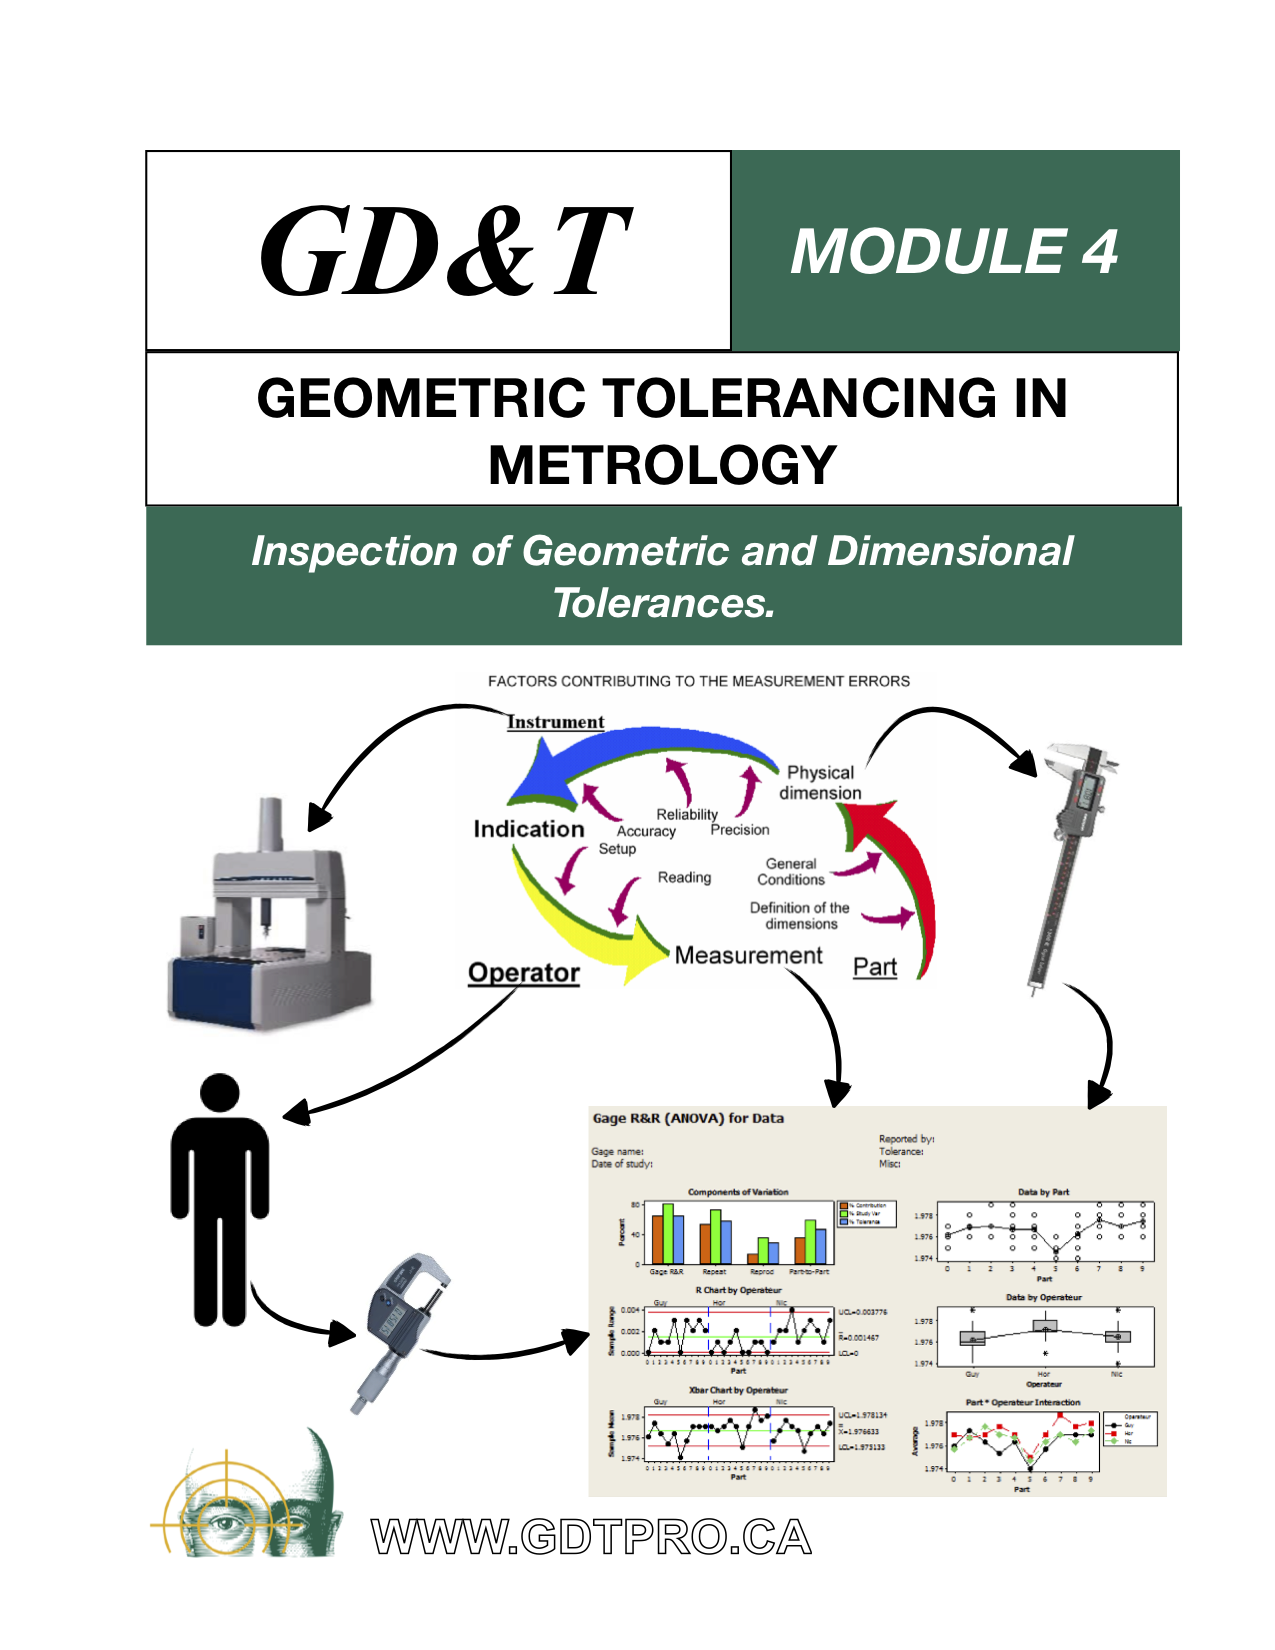
- To identify all source of uncertainty in the inspection process.
- To evaluate the systematic and random components of uncertainty (bias and spread).
- To use statistical tools to monitor measurement system performance and adjust calibration periods accordingly.
CONTENT:
- Review of basic GD&T principles, with emphasis on Datums, control of surfaces with Profile, control of dimensional elements with Position.
- The concept of measurement uncertainty., and the identification of the sources of uncertainty.
- Definition and evaluation of the two components of measurement uncertainty (systematic and random).
- How to qualify a measurement system for Statistical Process Control, using control charts.
- Inspection of geometric tolerances of form.
- Inspection of geometric tolerances of profile.
- Inspection of geometric tolerances of location.
- Inspection of geometric tolerances of orientation.
- Inspection of geometric tolerances of runout.
- 3D inspection systems (CMM – Measurement arms) and evaluation of their uncertainty.
- The inspection softwares, their functions and their contribution to measurement error.
- Exercices.
Module 4 primarily covers the inspection of parts using Geometric Tolerances in their definition, as well as dimensional tolerances. The content of Module 4 is based on basic principles established by standard ISO-8015:2011
– A geometric tolerances define a specification independent of any measurement procedure or measurement equipment.
– The inspection procedure is independent of the specification on the definition drawing, but is intended to mirror the specification (the geometric or dimensional tolerance).
– The specification (GD&T or dimensional tolerance) does not dictate which verification procedures are acceptable. The acceptability of a verification procedure is evaluated using the measurement uncertainty, the ambiguity of the specification, the function, the criticality of the feature, and other factors.
Inspection is always a compromise between two probabilities. First, the procedure must result il a low probability of accepting a non-functional part, second a low probability of rejecting a functional part. The inspection procedure must be proportionate with the criticality of the measure for the product, the manufacturing company, the end user, taking into account the inspection cost, the time available, and any other constraint.
The standards (ISO or ASME) define a set of tools and interpretation rules to define a perfect product specification. However, in the real world of inspection, nothing is perfect, and compromises have to be made between the product specification and the inspection procedure. These compromise may be different from one industrial sector to the other.
In that context, an inspector must understand exactly the requirements of the definition drawing, with any ambiguity associated, and the corresponding inspection procedure (measurement method, bias, spread, etc.). The gap between the two must be acceptable in the context of the product, industrial sector, client, safety of end user, and any other factor.
For example, a locating hole on a large aircraft structure will not be inspected the same way as a locating hole in components of the aircraft engine, event if they both use a geometric tolerance of position, with the same interpretation rules. A compromise acceptable for the aircraft structure may not be acceptable for the aircraft engine part. However, for the standards (ASME – ISO), the definition may be exactly the same for both.
So, for all practical purpose, in manufacturing:
IT IS NOT THE ENGINEERING DRAWING THAT DEFINES THE PRODUCT.
IT’S THE INSPECTION PROCEDURE.
and unfortunately, the inspection procedure is too often one of the most neglected document.
RECOMMENDED TO:
Module 4 is recommended to all personnel involved with product validation.
- Recommended for product designers so they can validate that their tolerancing scheme is friendly for inspection using available inspection tools.
- Recommended to manufacturing and methods engineers and technicians, so they understand the basic inspection techniques, their limitations, and are able to deploy “in process inspection” so manufacturing personnel have an immediate feedback about their quality.
- And of course, inspectors who must interpret the product definition drawings, and prepare/execute inspection plans.
