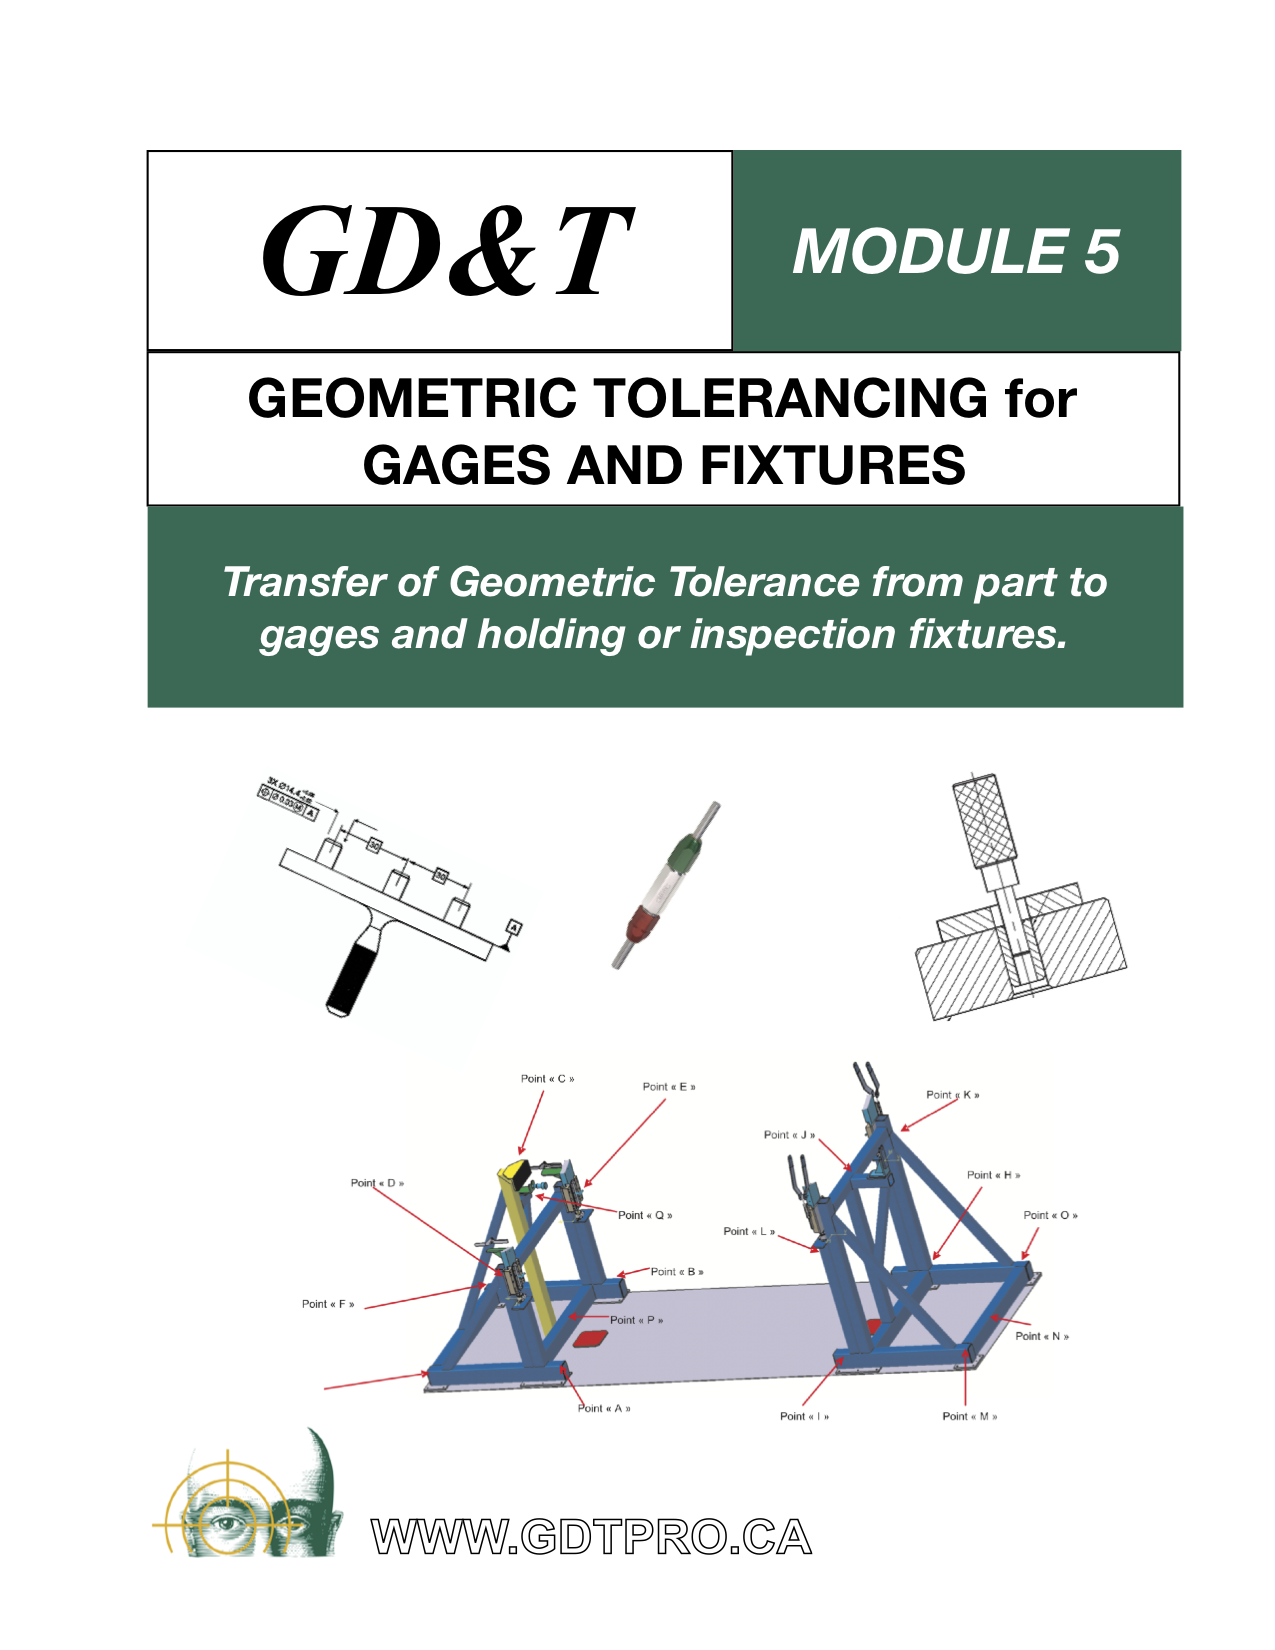
TRAINING DURATION: 2 days (16 h).
PREREQUISITE: Module 1, or a very good knowledge of GD&T as per ASME Y14.5.
Gages and fixtures are the backbone of repeatable manufacturing since the 20th century. With gages and fixtures, parts can be inspected quickly, at a low cost, with a very high level of confidence.
Where holding fixtures are required by the process (ex.: welding of complex structures, assembly of aircraft components), it is desired that these fixtures be referenced to the 3D model of the parts, and provide ways for the production team to validate their products in reference to the fixture, without the use of a 3D measurement, saving time and money.
In module 5, participants will learn how to transfer geometric and dimensional tolerances from the engineering drawing to the manufacturing tooling.
CONTENT:
- Review of relevant GD&T concepts like Datum Reference System, surface control with the geometric tolerance of Profile, dimensional elements control with the geometric tolerance of position.
- Limit gages for linear size (Go-NoGO) according to ISO1931-1 (2015).
- The concept of virtual zone applied to inspection fixtures.
- Dimensioning and tolerancing principles for gages and fixtures (ASME-Y14.43-2011).
- Complex gages for position tolerance.
- Gage for profile tolerance.
- The process of qualification of large holding fixtures to the 3D model origin system.
